Skip to content
Search
Log in
Sign up
Cart (
0
)
Check Out
Edible Sugar Art
Menu
Home
Pooh Bear
+
Pooh Bear Sheet Cakes
Pooh Bear Cupcake Toppers
Pooh Bear Cake Wraps
Baby Shower
+
TWINKLE TWINKLE LITTLE STAR
Woodland
Safari/Jungle/Elephant
Baby Dinosaurs
TEDDY BEAR
ADVENTURE BEGINS
1st & 2nd Birthday
+
ONE IN A MELON WATERMELON
WOODLAND BIRTHDAY
TWO SWEET
OTHER 2ND BIRTHDAY
1ST BIRTHDAY
Baptism/Christening
Baptism / Christening Cupcake Toppers
Planes/Trains/Trucks
Graduation
Patterns
+
Animal Print
Mediterranean Tile
Other Prints
UNICORN
Holidays
+
July 4th
Christmas Cupcake Toppers
Christmas Cake Toppers
Christmas
Dinosaurs
LLAMA
SPORTS
Video game
Full Catalog
Shipping & Policies
About Us
Log in
Sign up
Facebook
Pinterest
Instagram
YouTube
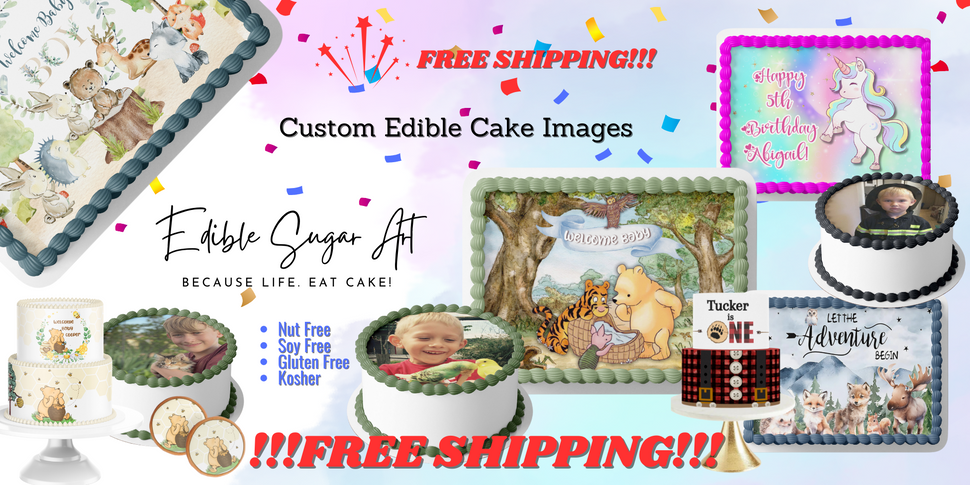
Edible Sugar Art
We make cake decorating easy! Our Premium Icing Sheets are 100% edible, Gluten Free, Soy Free, Nut Free, Dairy Free & Kosher. The easy-peel backing makes using them as easy as placing a sticker!
Featured Collection
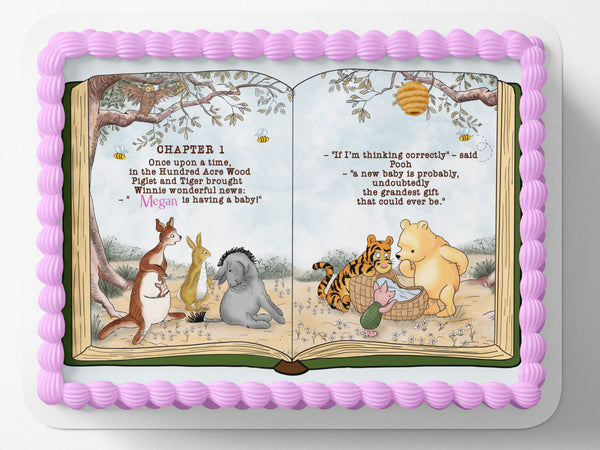
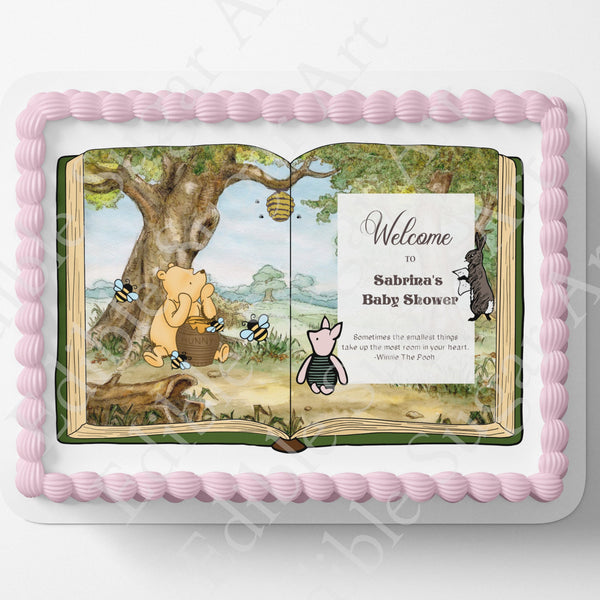
POOH BEAR BABY Shower Cake Edible Image/Icing Sheet/Edible Image/pooh bear cake wrap/pooh bear icing sheet/pooh bear cake topper
From $ 25.00
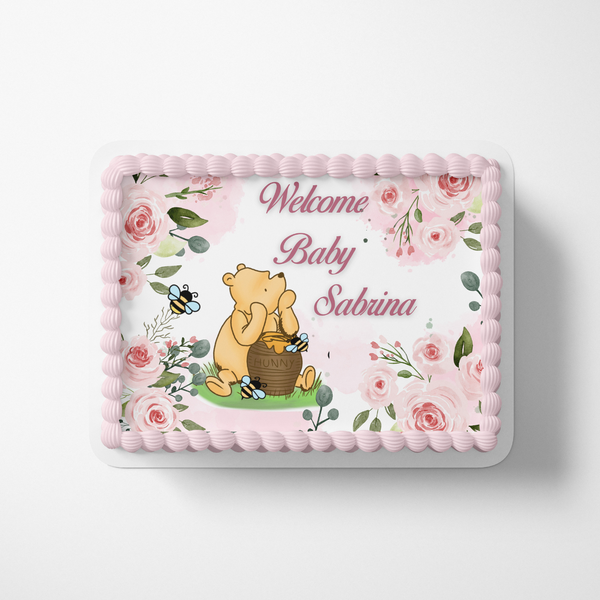
POOH BEAR BABY Shower Cake/Cake Wrap/Icing Sheet/Edible Image/pooh bear cake wrap/pooh bear icing sheet/pooh bear cake topper
From $ 25.00
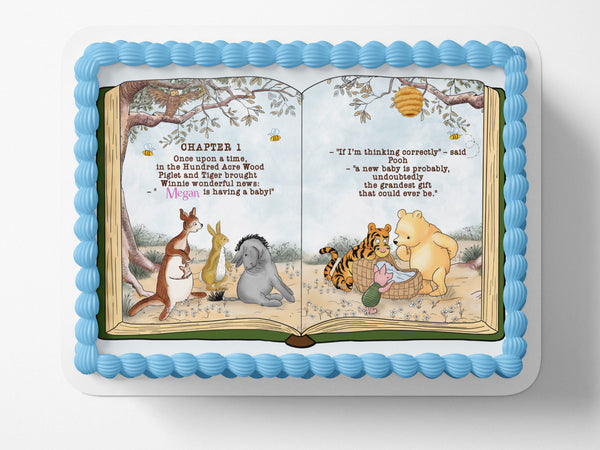
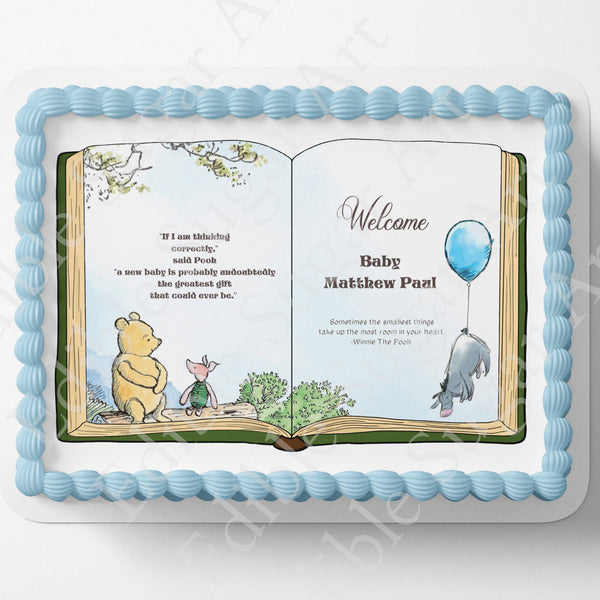
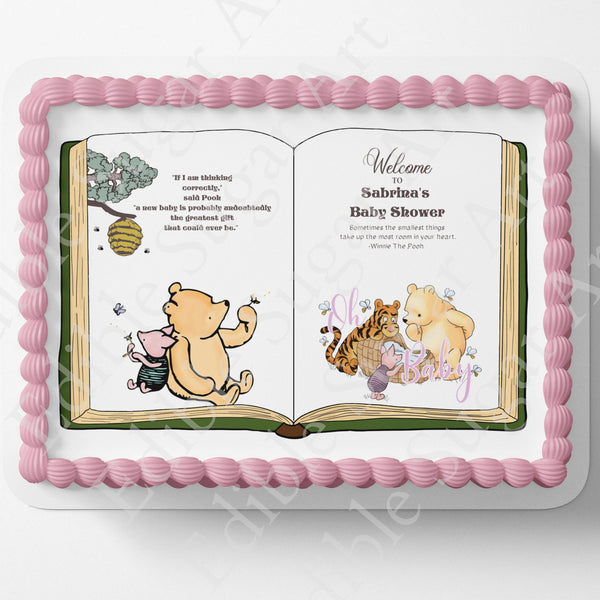
POOH BEAR BABY Shower Cake Topper Edible Image pooh bear book Nursery decoration Sheet cake Classic Pooh Bear Cake topper Cupcake Topper
From $ 25.00
POOH BEAR BABY Shower Cake/Cake Wrap/Icing Sheet/Edible Image/pooh bear cake wrap/pooh bear icing sheet/pooh bear cake topper
From $ 25.00
POOH BEAR BABY Shower Cake Topper Edible Image pooh bear book Nursery decoration Sheet cake Classic Pooh Bear Cake topper Cupcake Topper
From $ 25.00
POOH BEAR BABY Shower Cake Topper Edible Image pooh bear book Nursery decoration Sheet cake Classic Pooh Bear Cake topper Cupcake Topper
From $ 25.00
POOH BEAR BABY SHOWER CAKE EDIBLE IMAGE CAKE WRAP CUSTOMIZABLE DECORATIONS
From $ 25.00
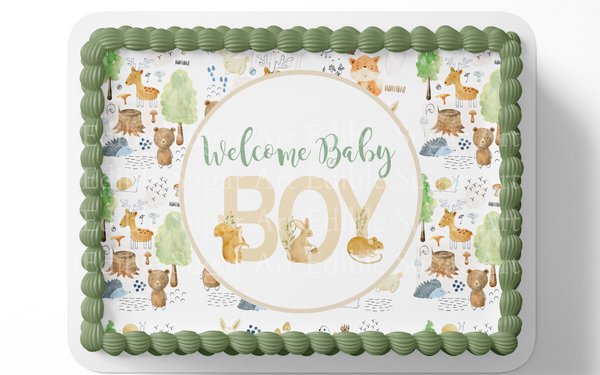
Woodland Baby Shower Cake Topper Edible Image
Edible Sugar Art
Regular price
$ 25.00
8.25x10.25 - $ 25.00 USD
11.75x16.25 - $ 35.00 USD
12 round cupcake/cookie toppers 2.5'' - $ 22.00 USD
Quantity
Add to Cart
Full details →
Share
Share on Facebook
Pin it
Pin on Pinterest
Subscribe to our newsletter
Promotions, new products and sales. Directly to your inbox.
Subscribe